
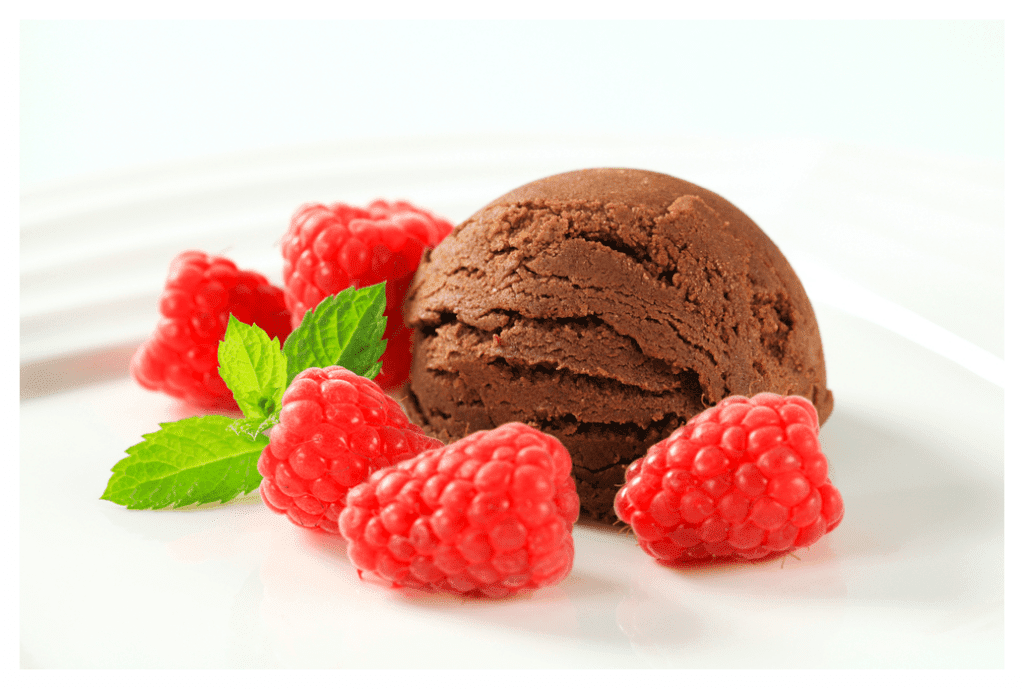
Ice cream is the ultimate summer treat for kids and grown-ups alike. Just because your child bears the brunt of an allergy or the itchiness of eczema, it doesn’t mean they have to miss out on the tasty delights of chocolate ice cream. This is our brilliant dairy-free chocolate ice cream recipe – and you don’t even need an ice cream maker!
Dairy-free, chocolate ice-cream
Coconut milk is a really useful substitute for regular milk, especially in desserts as it is sweeter and has a thicker, more creamy consistency. In spite of their name, coconuts are actually seeds and are very different from peanuts or tree nuts. While it is possible to be allergic to coconuts, it is such a rare allergy that testing for it is not routinely carried out even in people with other nut allergies.
Ingredients:
- 2 cans of coconut milk
- 130g granulated sugar
- 25g cocoa powder
- A pinch of salt
- 3 egg yolks
- 1 tablespoon of vanilla extract
Method:
- Warm the two cans of coconut milk over medium heat. Make sure it doesn’t boil as this will affect the taste. If the coconut milk has separated in the can, give it a good stir as it warms to break down the lumps.
- In a separate bowl, mix together the granulated sugar, cocoa powder and a pinch of salt.
- Gradually add one cup of warm coconut milk fresh to the dry mixture. Stir gently until you get a thick, smooth paste
- Stir in the egg yolks one at a time. Make sure that each egg yolk is mixed in well before you add the next one.
- Add the entire mixture to the rest of the coconut milk on the hob – make sure you do it slowly so everything is mixed in properly.
- Simmer the entire contents on medium heat, stirring regularly until the mixture can coat the back of a spoon – this should take around 10 minutes to achieve. Aim to get the mixture gentle bubbling when you stop stirring, but no hotter.
- Add the vanilla extract and stir well.
- Pour the ice cream mixture into a heatproof tub (1 litre clip-top lunch box works perfectly) and put it in the fridge until cool.
- Transfer to the freezer, wait until it’s frozen (allow 6-8 hours) and serve it up!
This ice-cream will keep for months (as long as it hasn’t melted and been refrozen).
Top tips from the ScratchSleeves team
Homemade ice-cream typically sets much harder than shop brought ‘soft scoop’ and this recipe is no exception. As a result, this ice cream is better served in bowls rather than cones. Trying serving with raspberries and strawberries for a healthy, summery twist! To get a softer consistency you could switch the sugar for 100ml of light corn syrup or add around 4-6 leaves of gelatine (or 2-3 teaspoons of the powdered form) at the same time as the vanilla essence. Stir well to make sure that it has fully dissolved. If you have the money (and storage space) using an ice cream maker will also make for softer ice cream. For a more intense, grown-up flavour increase the cocoa powder used to 45g and reduce the sugar to 110g.
Check out our freefrom chocolate brownie recipe as an accompaniment to your dairy-free chocolate ice cream.
Here at ScratchSleeves, we don’t just share our experiences of bringing up an eczema child and favourite allergy-friendly recipes, we also manufacture and sell our unique stay-on scratch mitts for itchy babies, toddlers and children of all ages. We now stock sizes from 0-adults years in a range of colours. Visit our webshop for more information.
-
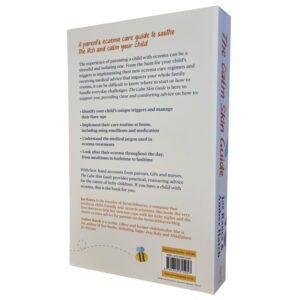
The Calm Skin Guide
£18,10 This product has multiple variants. The options may be chosen on the product page